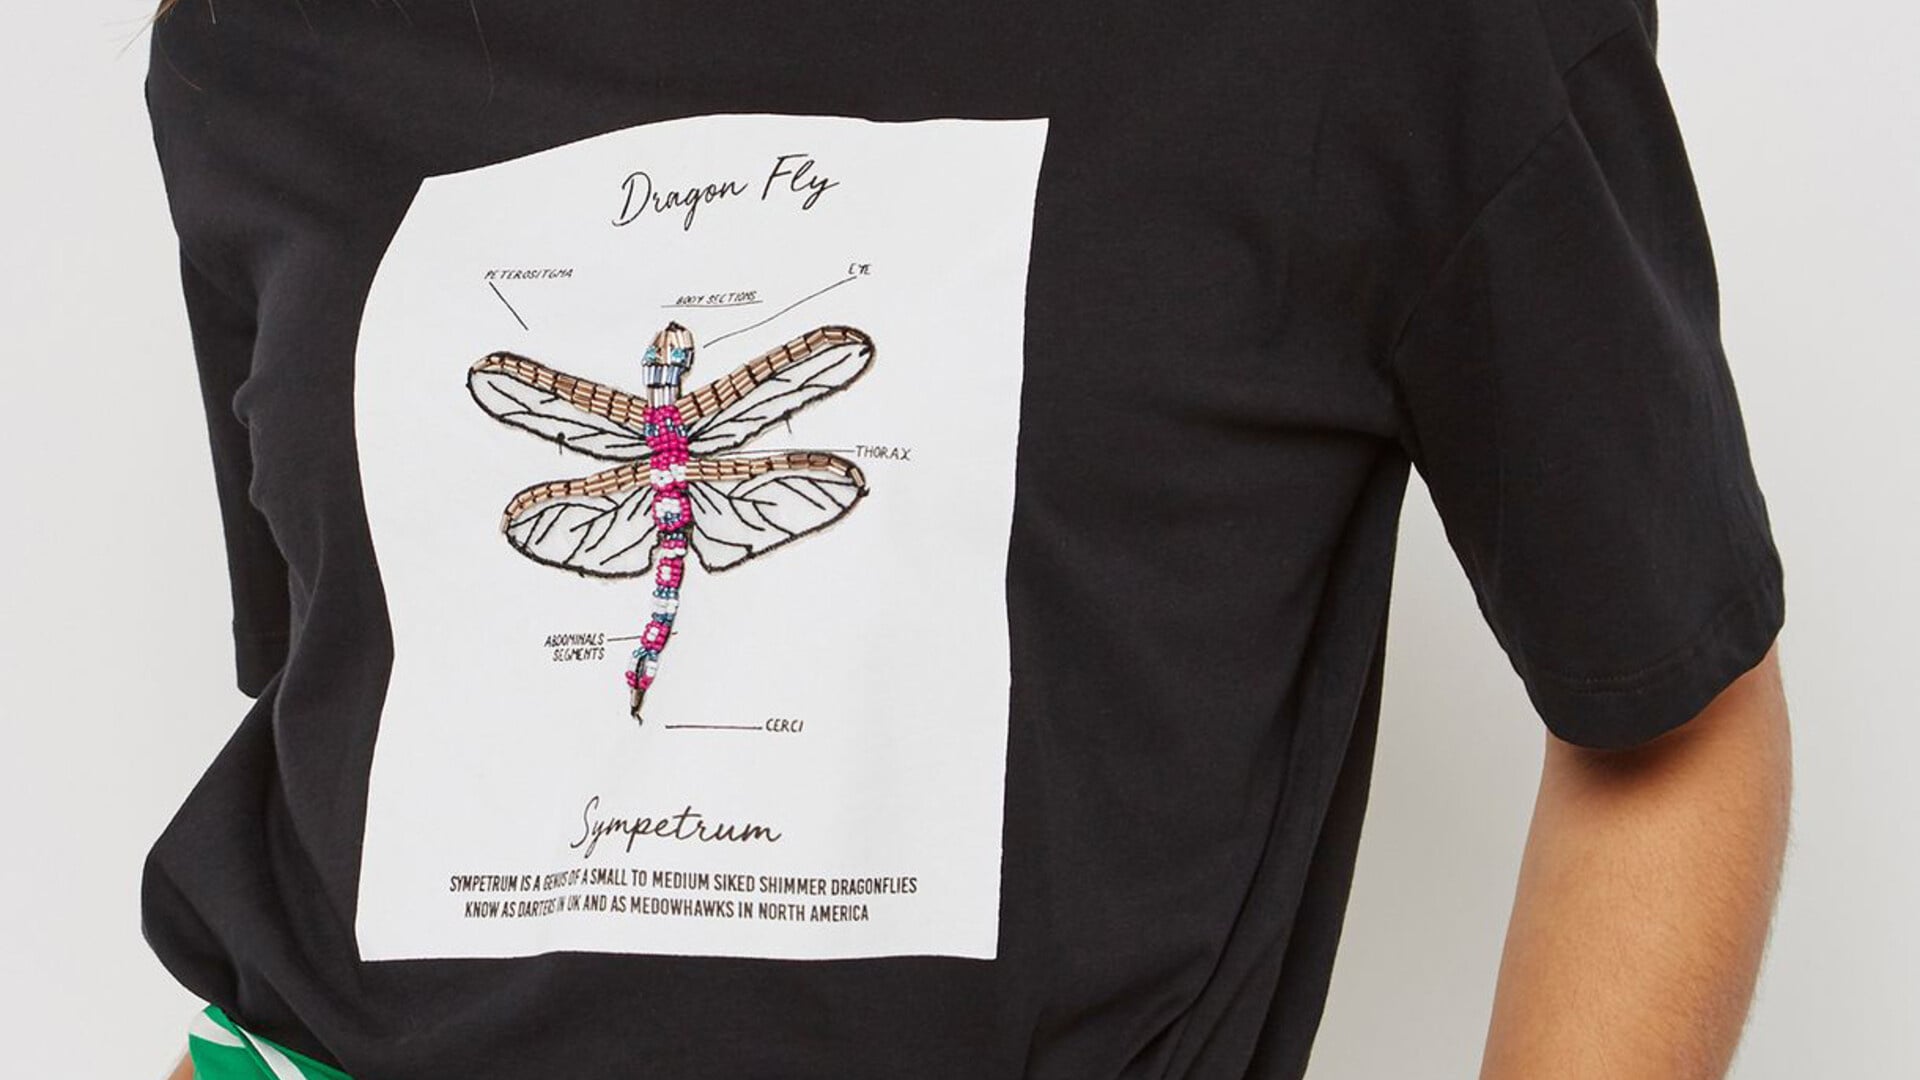
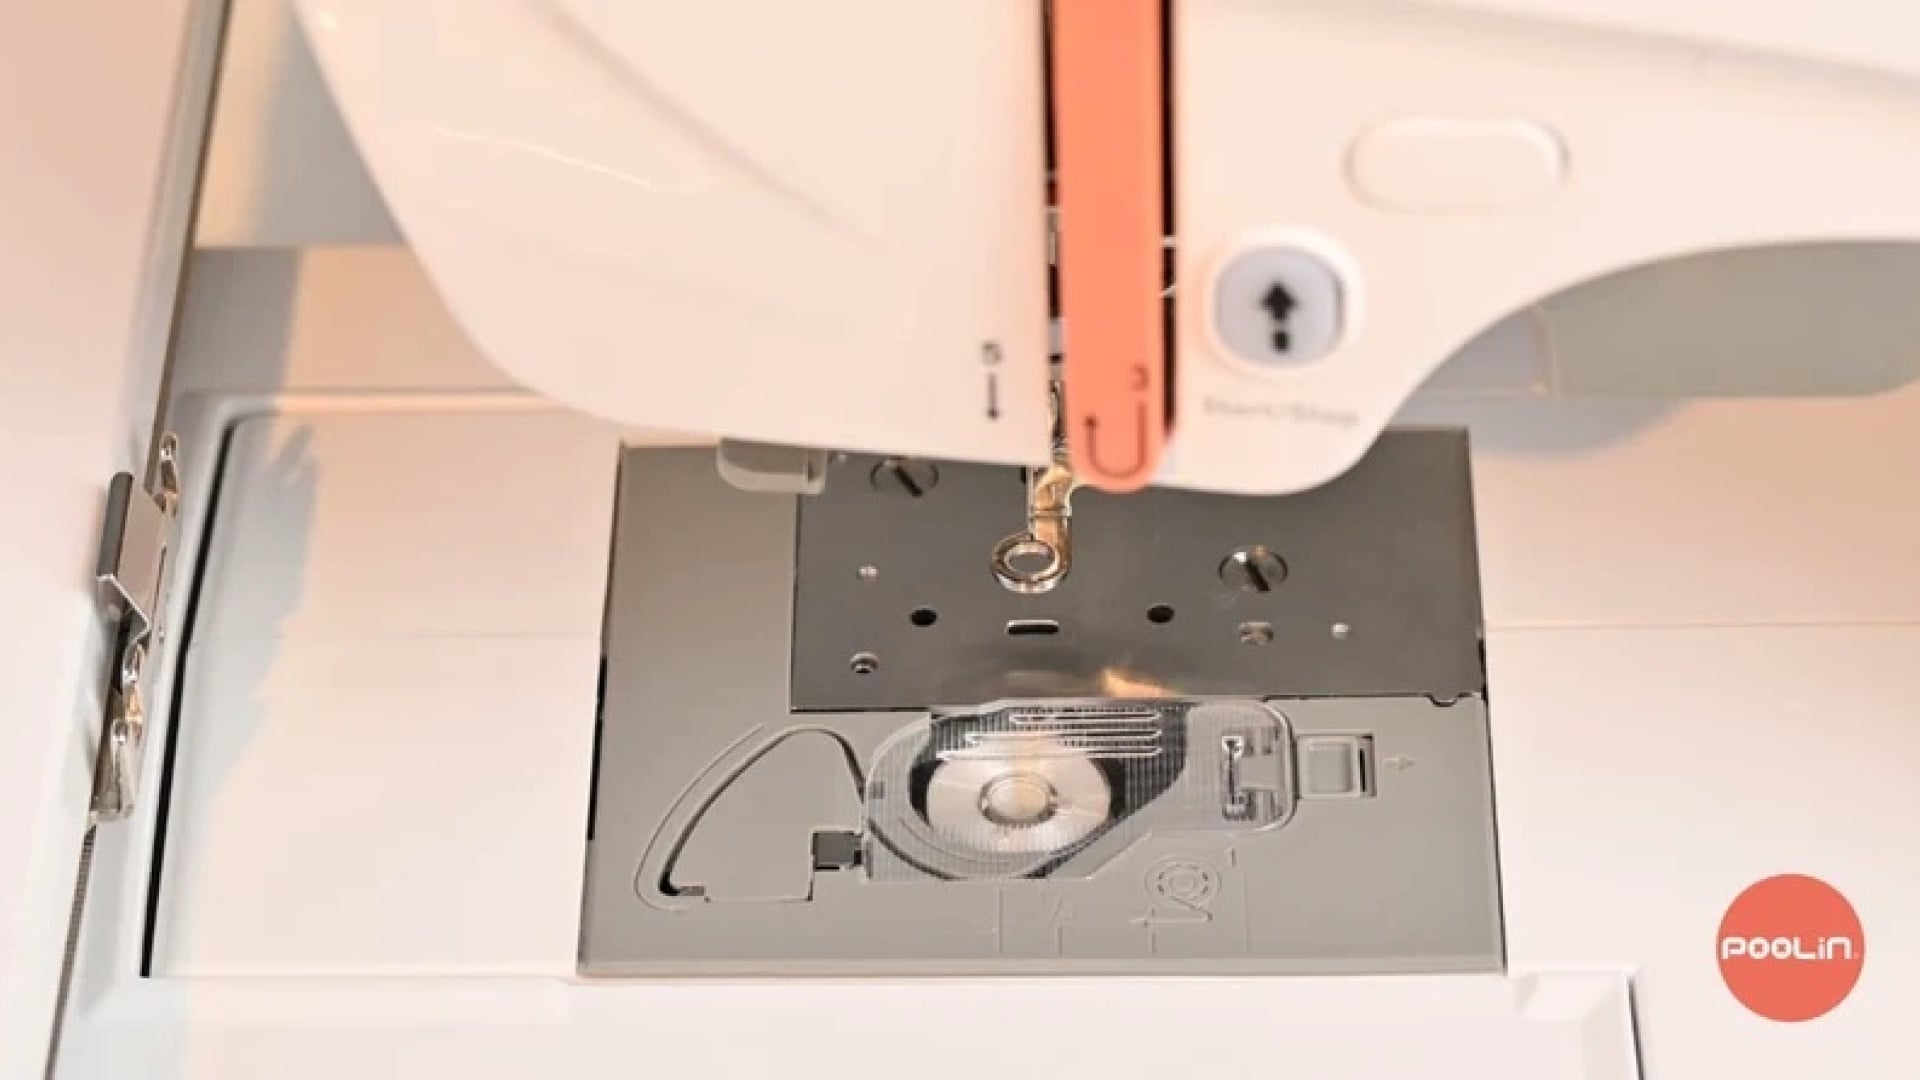
Heat transfer paper allows you to print your design with a regular inkjet printer and standard printer ink. After printing, you cut out your design and heat transfer it to a fabric item like a t-shirt or tote bag. This will create a layer with your design on top of the item, which means this kind of decoration is often less durable than using sublimation paper or heat transfer vinyl.
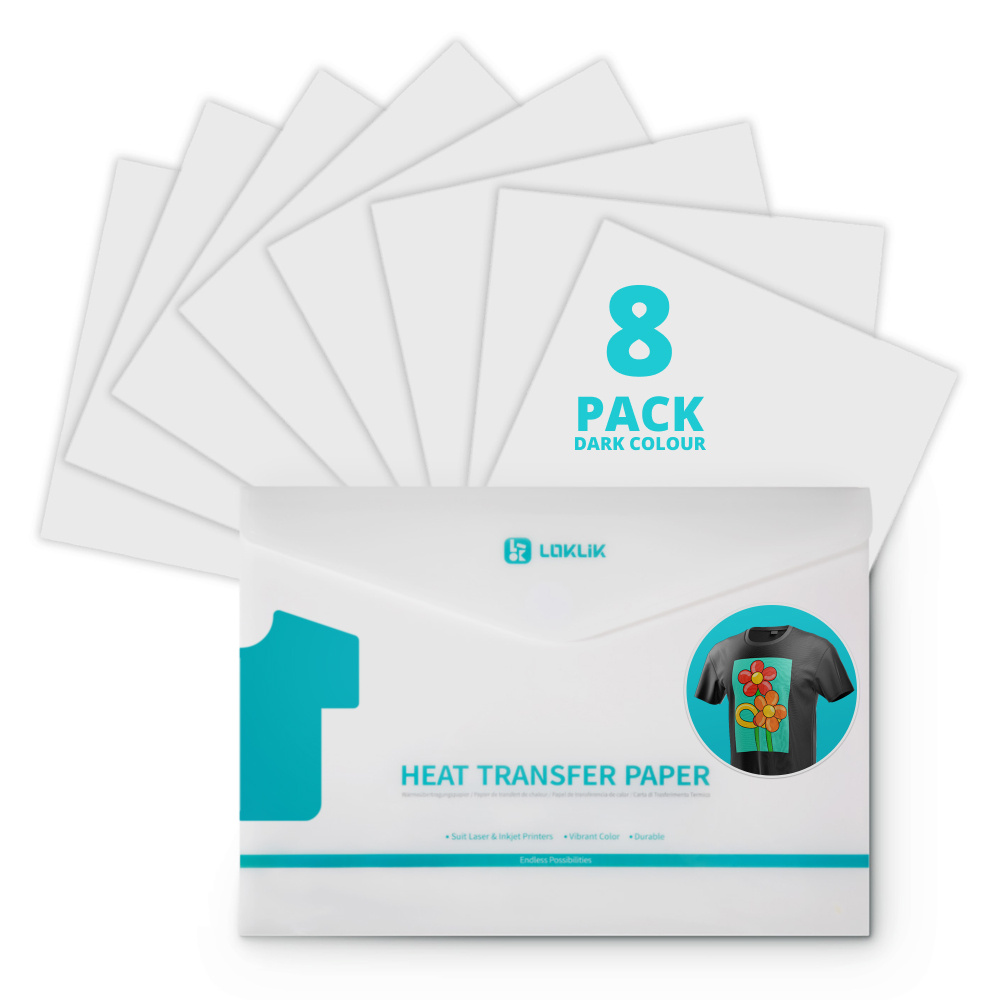
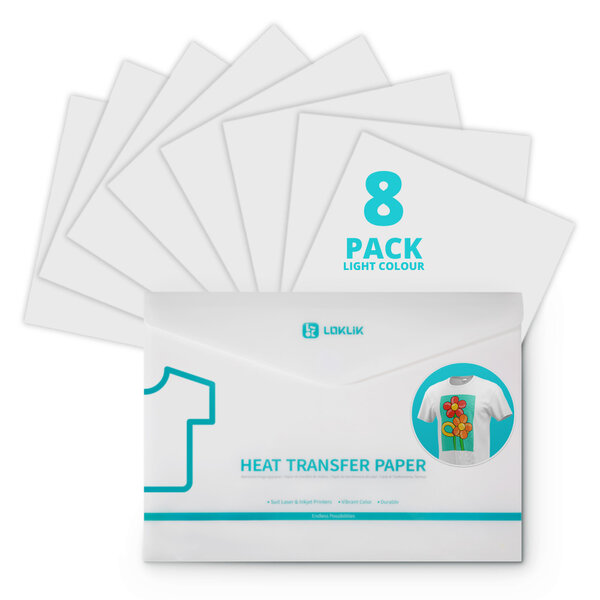
There are two types of heat transfer paper: one for dark fabrics and another for light fabrics.
Suitable materials
You can use heat transfer paper to decorate a variety of fabrics, like t-shirts, bags, or other items. These items have to be made of nylon or at least 60% cotton.
Do note that you will need a different kind of heat transfer paper for light or dark fabrics.
Do you need to mirror heat transfer paper?
This depends on the type of heat transfer paper you are working with.
If you are working with LOKLiK heat transfer paper for dark or light fabrics, you will not have to mirror your design before printing. You will print your design on the top side of the paper.
When you want to heat transfer that design onto an item, you first remove the backing and place your design on the item with the top side of the paper facing up. Make sure to cover the design with a heat-resistant teflon sheet before you start the heat transfer.
So you will not need to mirror your design before printing.
Please note that heat transfer paper from other manufacturers might work differently!
How do you use heat transfer paper?
You can follow the steps below to transfer your design using LOKLiK heat transfer paper.
Please note that heat transfer paper from other manufacturers might work differently.
- Print your design on the blank side of the transfer paper. Do not mirror your image!
- Cut your design out of the transfer paper using a cutting machine, craft knife, or scissors. Then peel off your design from the backing.
- Place your garment or other fabric item on a hard, heat-resistant surface (like an ironing board). Iron the garment to remove any creases.
- Place the paper on the item with your design facing up. Cover your design completely with the protective teflon sheet that was provided with your heat transfer paper.
- Depending on the transfer method:
- If you use an iron: preheat your iron using the cotton setting. Do not use steam!
Let your iron heat up completely, then start the transfer by evenly applying pressure everywhere for 2 - 3 minutes.
- If you use a heat press: set the temperature of the heat press to 160 - 170 °C.
Set the pressure to medium to high pressure. Press for 10 - 15 seconds.
- Wait a few seconds after the transfer, then remove the protective sheet.
- Done!
Decorate fabrics with an inkjet printer
We offer two kinds of heat transfer paper to customise textile. Depending on the colour of your fabric, you will need heat transfer paper for dark fabrics or light fabrics.