Heat transfer vinyl is a great way to personalise T-shirts, hoodies, tote bags, and other fabric items with custom designs. Using a cutting machine, you can create shapes, text, or intricate patterns from vinyl sheets, which are then applied to fabric using heat and pressure.
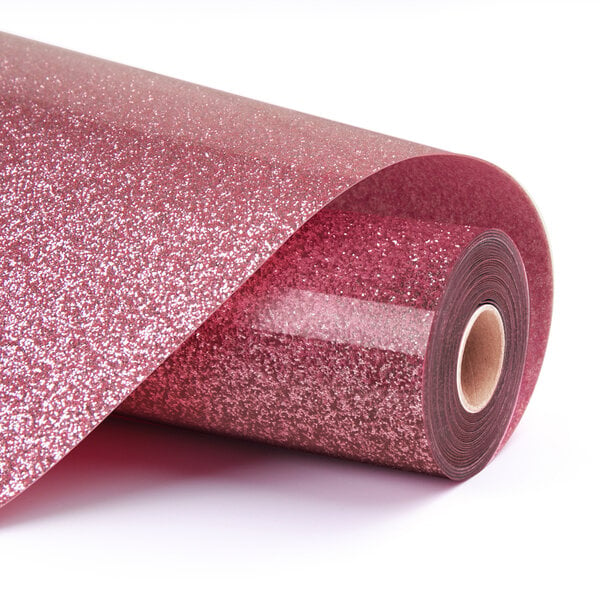
HTV comes in a variety of colours, finishes, and textures, including glitter, metallic, and holographic effects, allowing you to get creative with your designs. Once pressed onto fabric with a heat press or iron, the vinyl bonds securely, creating a long-lasting and washable custom look.
Whether you’re making unique gifts, promotional items, or stylish fashion pieces, HTV offers a fun and versatile way to bring your ideas to life!
Before you start
If you want to craft a heat transfer project, you will probably need various materials and tools. Below you can find a quick overview of what you need to get your design on a t-shirt.
T-shirt: preferably in cotton, polyester, or a cotton/polyester blend
Heat transfer vinyl: get durable and washable iron-on vinyl so your creations will last longer. The colours you’ll need will depend on your design, so take a look at our wide selection of HTV sheets.
Cutting mat: a cutting mat keeps your material in place during cutting. We offer different cutting mats with varying degrees of stickiness, suited for each material. We recommend a standard grip cutting mat to cut heat transfer vinyl.
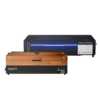
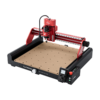
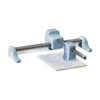
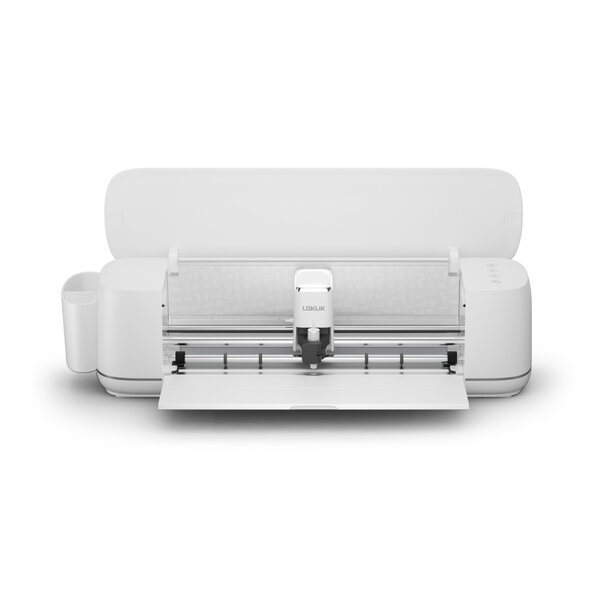
Cutting machine: while you could cut all the vinyl by hand, a specialised cutting machine makes life a lot easier.
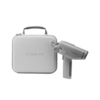
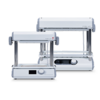
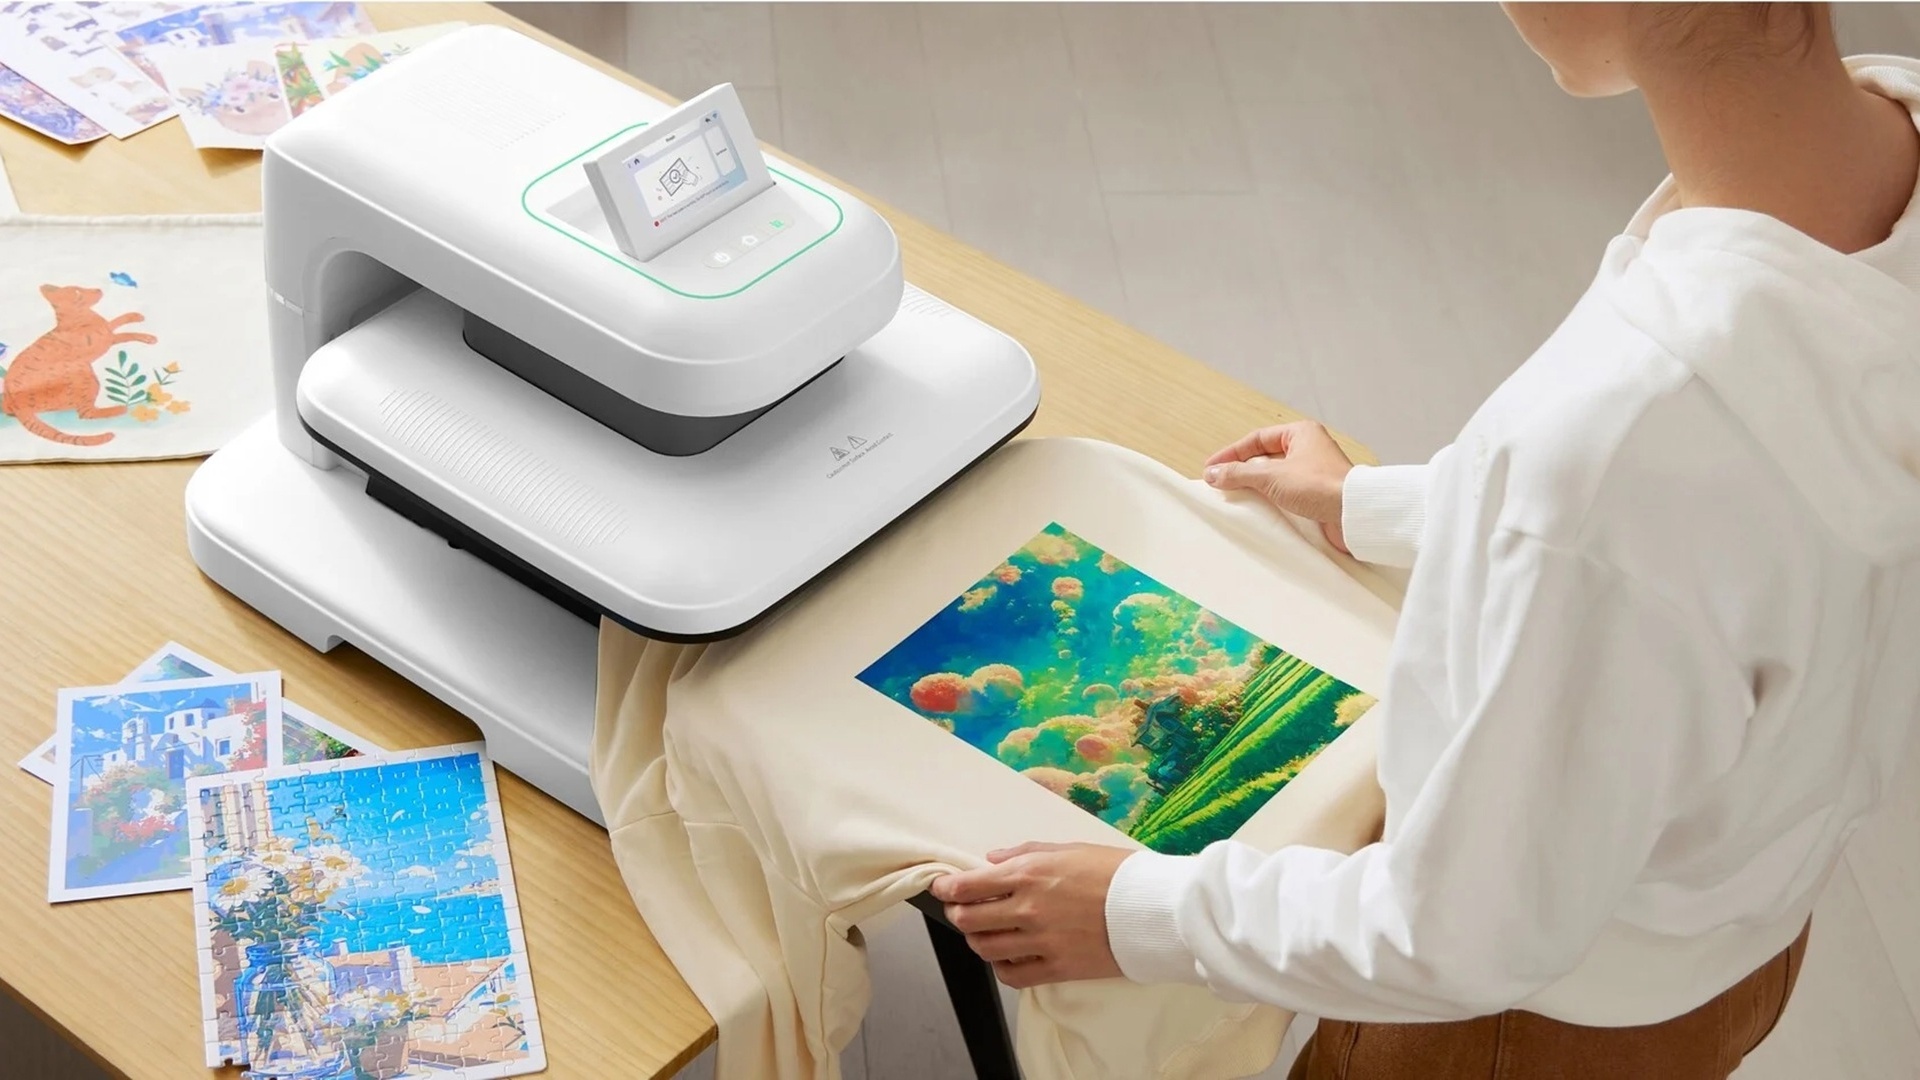
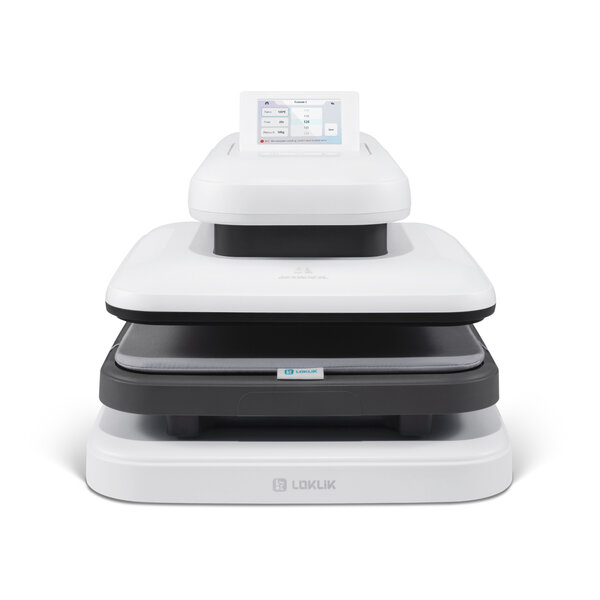
Heat press: a good heat press will ensure even heating and even pressure across the design. This will improve the transfer onto the t-shirt or fabric. If you are only customising a t-shirt once or twice, then a regular household iron will work too. Just remember to turn off all steam functions before transferring your design!
Weeding tools: weeding is the removal of excess material from your cut. Simple, specialised tools make this process easier.
Design: if you’re a designer, you can create an excellent vectored t-shirt design in software like Adobe Photoshop or Illustrator. But if you’re not, you can get free designs for any occasion in the HTVRONT IdeaStudio library.
Create your design
In your favourite design software
If you are already familiar with design software like Adobe Illustrator, CorelDraw and others, you can use that to make your own design. Make sure you work with vector graphics and export your design as a vectorial file type (e.g. SVG, EPS, DXF) to ensure clean, scalable lines.
We recommend making the canvas size in your design software similar to your final design dimensions. Avoid fonts with very thin lines, as they may not cut or weed well. Simple, bold designs work best for clean cutting and application.
In HTVRONT IdeaStudio
Even if you are not used to working with design software, you can still make your own design in the HTVRONT IdeaStudio software.
On top of all the tools, fonts and shapes you could ever want, IdeaStudio also comes with a large library of free designs that you can use and adapt as necessary. Or ask the AI assistant to create something unique just for you!
The benefit of working in IdeaStudio is that your final design will already be ready to cut with a LOKLiK cutting machine.
Prepare your design for cutting
Before you start cutting out your design, remember to mirror your design if you will transfer it to an item using heat transfer vinyl, sublimation paper, and some types of heat transfer paper. Check the manual of your material to be sure!
The other steps to follow will depend on how you are going to cut out your design: with scissors, a LOKLiK cutting machine or another brand of cutting machine.
If you are using HTVRONT IdeaStudio and a LOKLiK Crafter or iCraft cutting machine, then you can follow the steps in the video below.
In IdeaStudio, choose the cutting layer and set the right parameters for your material. Make sure you select the Mirror option if you are using heat transfer vinyl!
Cut the heat transfer vinyl and weed it
The cutting settings might vary, depending on the machine or type of heat transfer vinyl you use.
If you are using a LOKLiK machine:
Turn on your LOKLiK cutting machine and install the right cutting blade for the material that you are using.
Place the heat transfer vinyl on your cutting mat with the coloured side down.
Slide your cutting mat into your Crafter or iCraft and press the Load/Unload button. Make sure the mat lines up with the slots on the machine.
After you have set all the right parameters, click Start in IdeaStudio and the cutting machine will begin its task.
Wait for the cutting to finish and then press the Load/Unload button to remove the cutting mat from the machine.
Now you can remove the unnecessary parts from the cut design, a process that is also called weeding.
Place the weeded design on the T-shirt, bag or other fabric item and get ready to heat press!
Heat press your design
Now that you have cut out all the parts of your design, let’s get ready to transfer it onto the fabric! As we mentioned before, you can use a regular iron for this if you only do heat transfer projects occasionally. Just remember to turn off the steam function of your iron before you begin!
If you do a lot of creative projects or want more control, you can follow the steps below to set your heat press to the right temperature and time.
Plug your heat press machine into a stable power source, then click the power button to turn on the device.
Set your heat press to the correct temperature. You can find an overview of the temperature required for your material in the table below.
Set the timer for how long you want to apply pressure, then let the machine heat up.
You’ll hear a beeping sound when the correct temperature has been reached.
Use your heat press to pre-heat the garment for 5 - 10 seconds to remove any moisture from the fabric and creases from the surface.
Place your vinyl design on the t-shirt, cover it with a teflon sheet and heat press it for 10 - 15 seconds following the settings in the table below.
Type of material
Temperature
Pressure
Time
Basic heat transfer vinyl
150 - 160 °C
Medium (5 - 8 kg)
10 - 15 s
Chameleon heat transfer vinyl
145 - 155 °C
Medium (5 - 8 kg)
10 - 15 s
Glitter heat transfer vinyl
150 - 160 °C
Medium (5 - 8 kg)
10 - 20 s
Pattern heat transfer vinyl
145 - 155 °C
Medium (5 - 8 kg)
10 - 15 s
Puff heat transfer vinyl
150 - 160 °C
Medium (5 - 8 kg)
10 - 15 s
Soft metallic heat transfer vinyl
145 - 155 °C
Medium (5 - 8 kg)
10 - 15 s
If your design has multiple layers, then the process is a bit different:
Press the first layer only for 3 - 5 seconds. You want the design to be attached to the shirt, but you don’t want to over-press it because you will heat and press it again while adding the other layers.
Place the second layer on top of the first layer, and cover it with a teflon sheet. Then press down with your heat press for 3 - 5 seconds. If you can pull up the backing paper without peeling off the vinyl, the layer is ready.
Repeat the process for all the layers in the design.
After applying all the layers, cover the whole design with the teflon sheet and heat press it for 10 seconds to complete the transfer.
Once the T-shirt and the design have cooled off, peel off the transparent layer that was on the heat transfer vinyl. Please note that some types of heat transfer vinyl do not require you to wait until the material has cooled completely. Always check the manufacturer’s manual before you start!
The right tools for the job
You can find everything you need to decorate T-shirts, bags, and other fabrics right here.
We use cookies on this website to enhance your user experience. For an explanation on the types of cookies used, please see your personal settings. For more information please read our privacy policy.