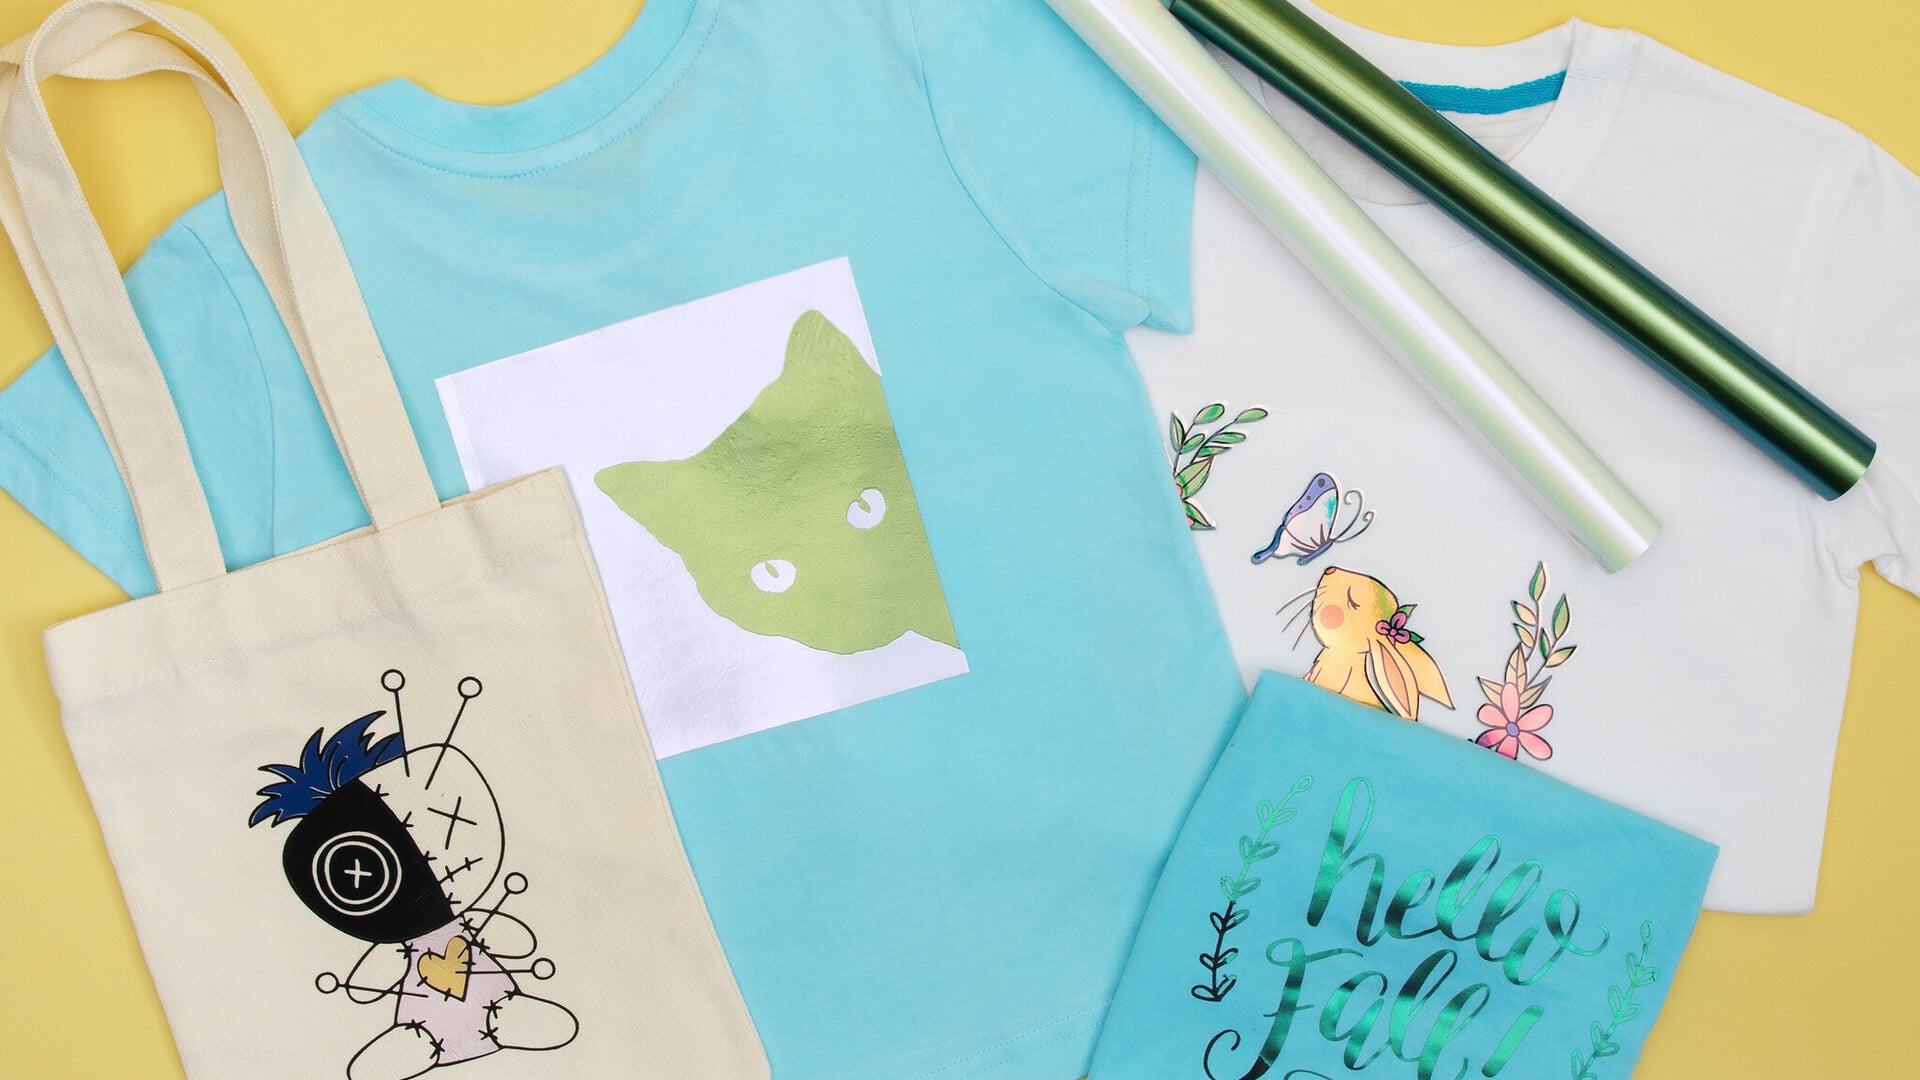
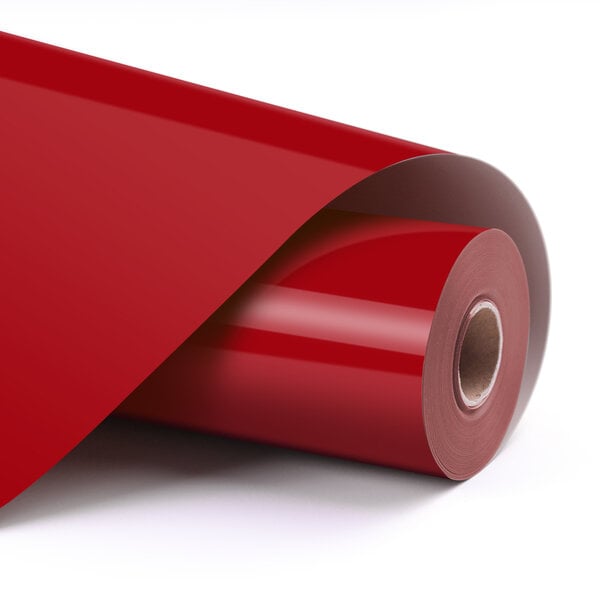
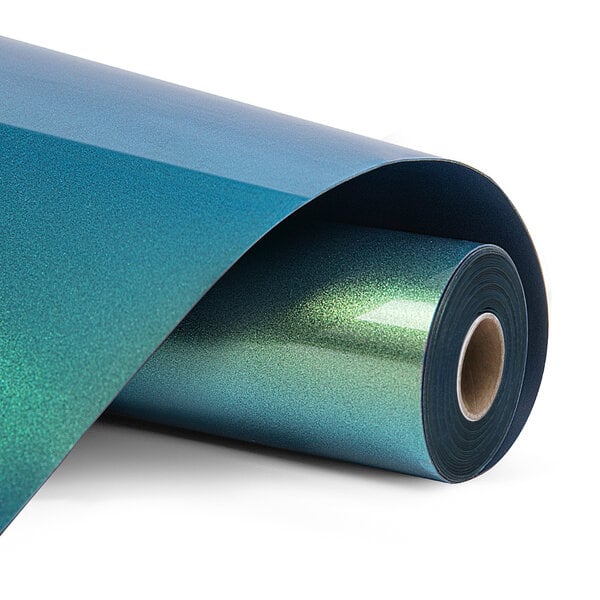
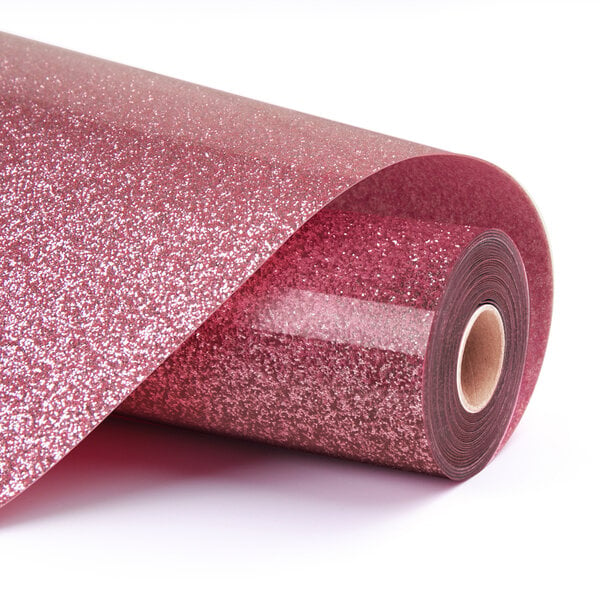
Heat transfer vinyl (also known as HTV or iron-on vinyl) has a colour or pattern on one side and a heat-activated adhesive on the backside. Given that HTV requires heat and pressure to stick to something, you will need objects that can withstand these circumstances.
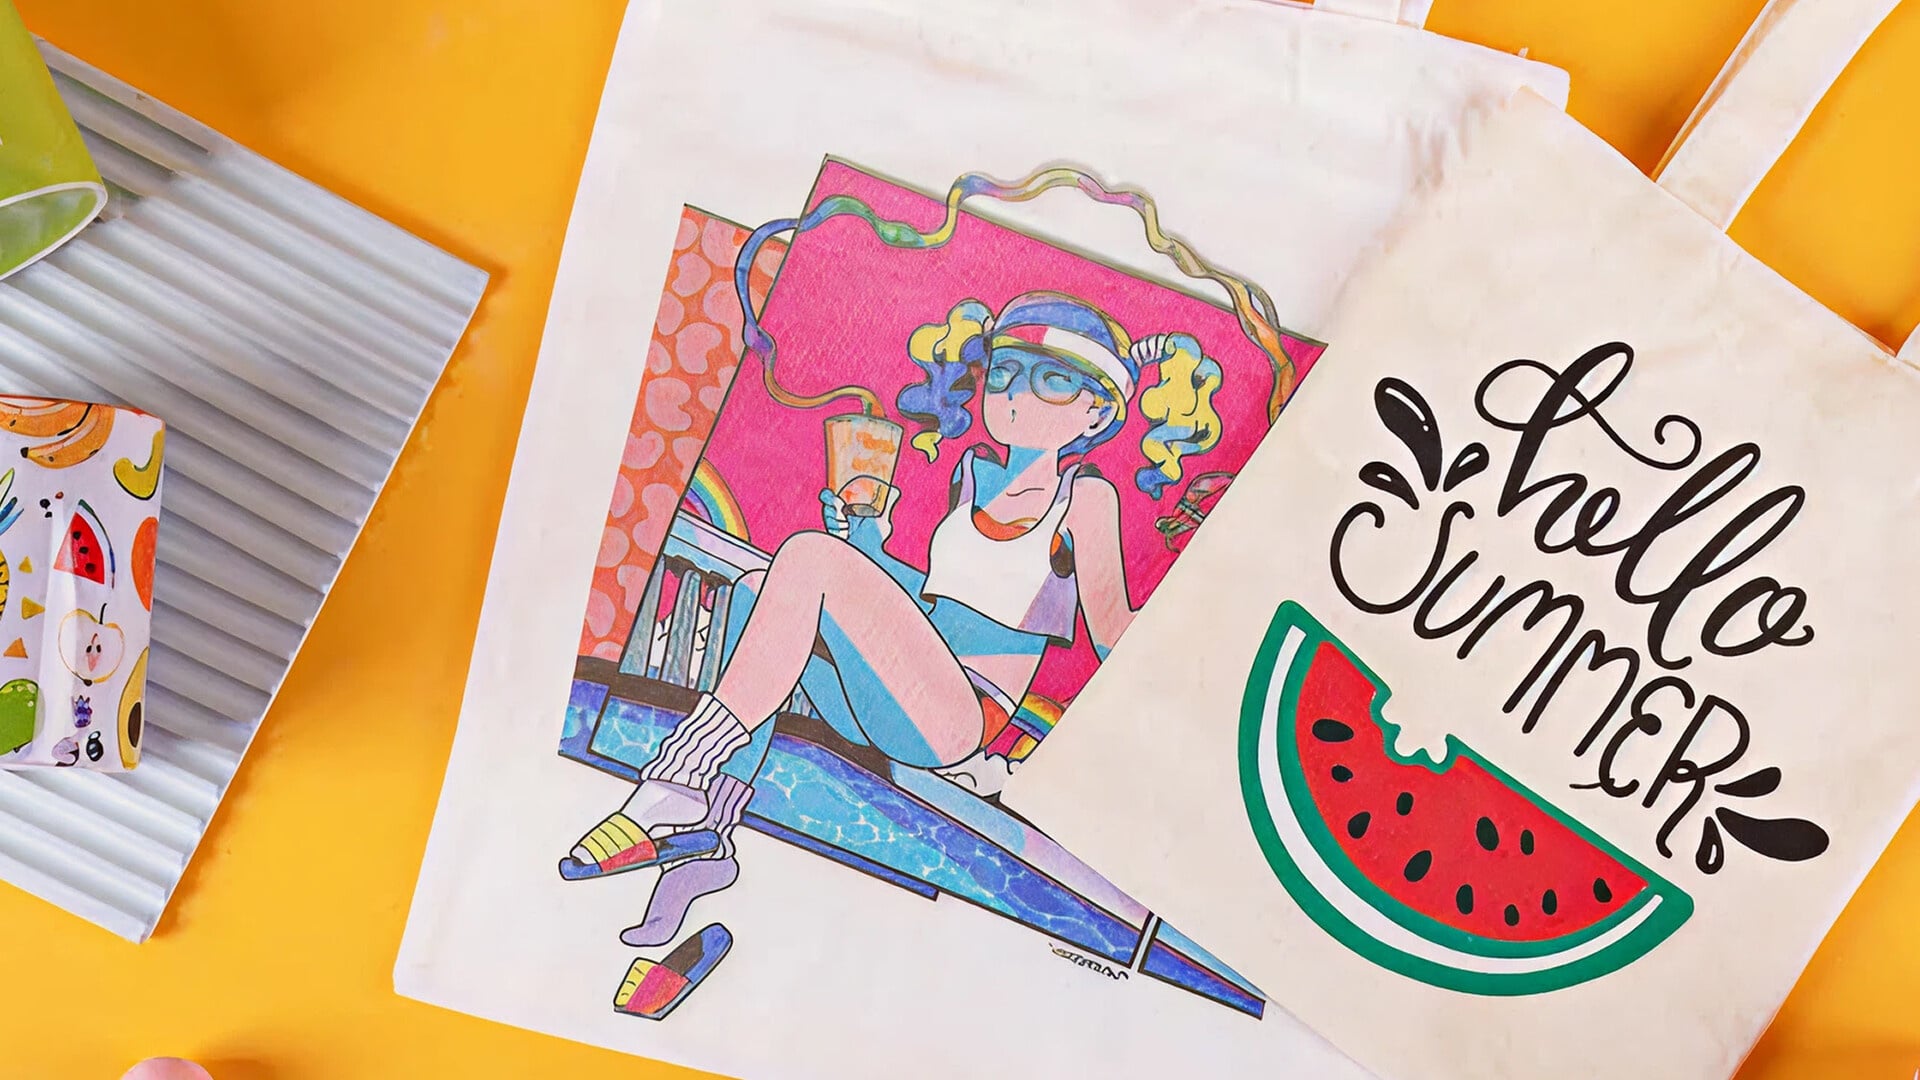
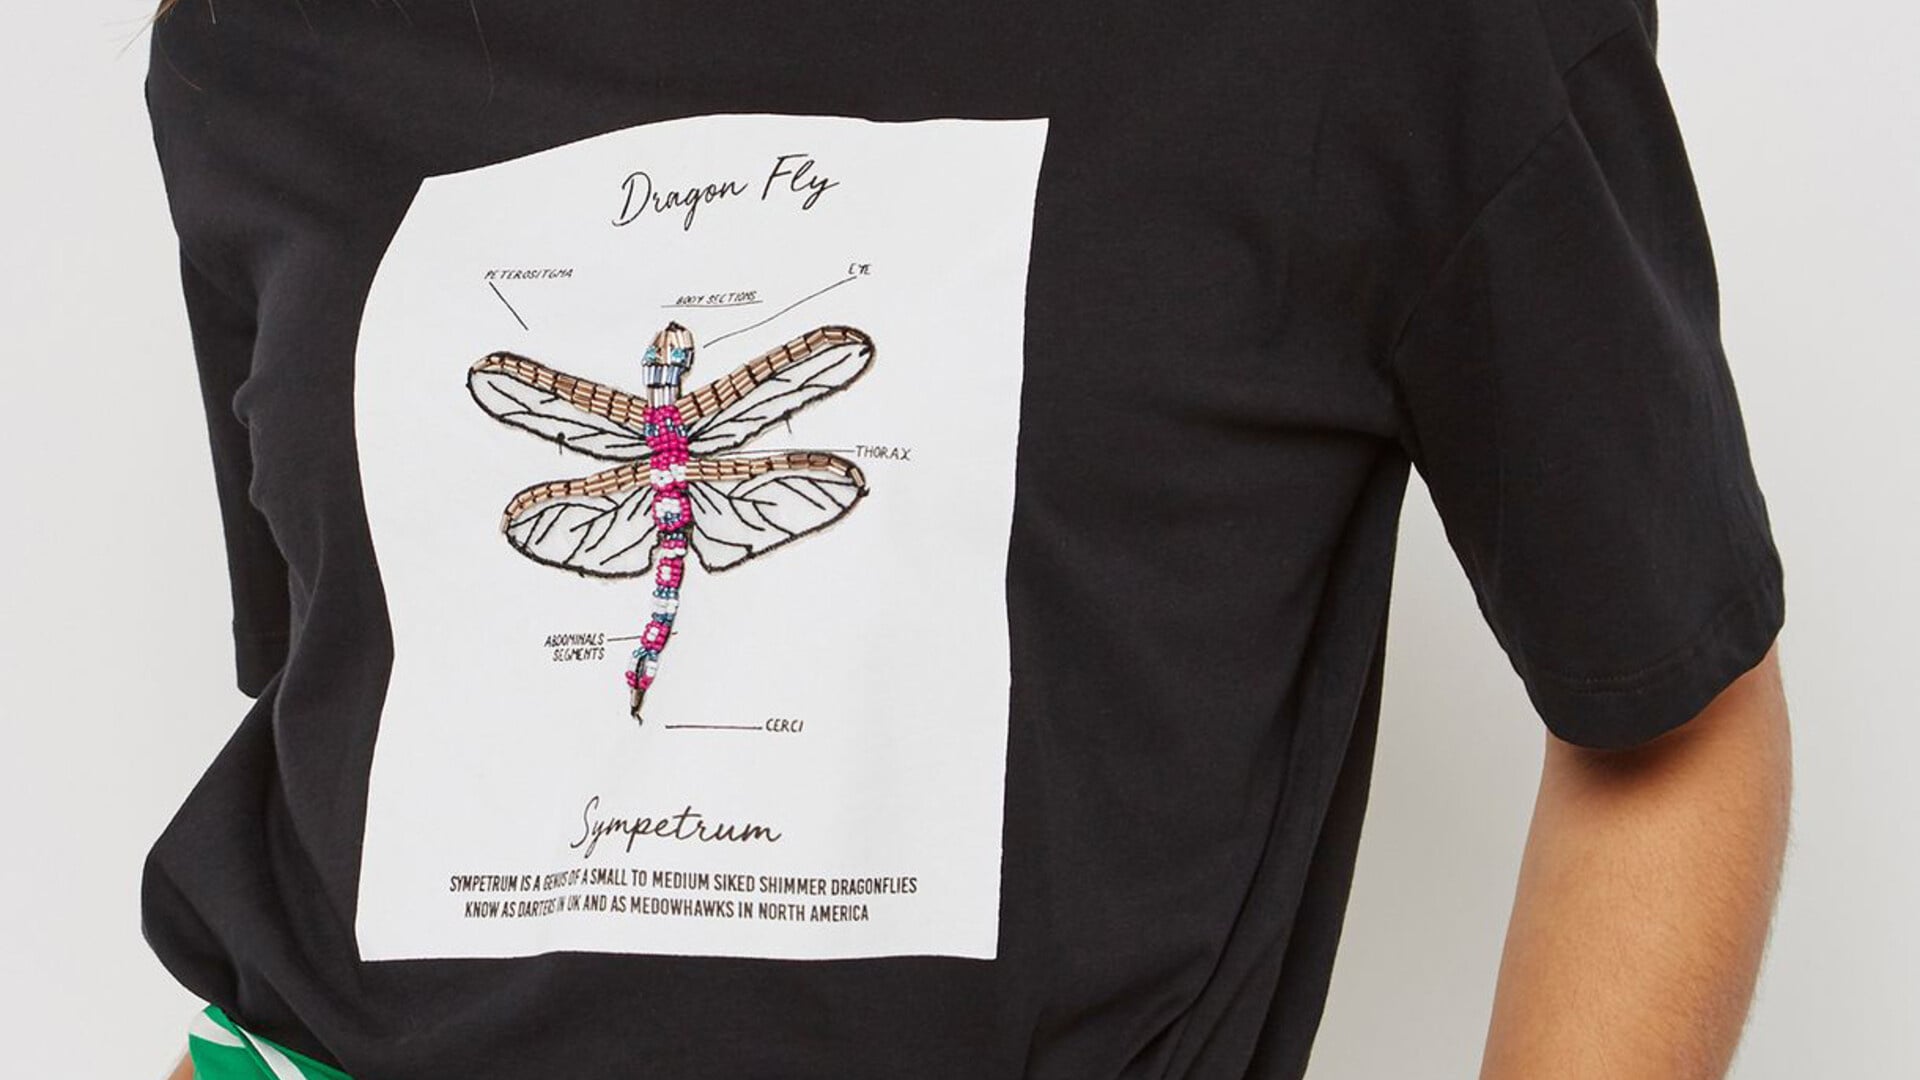
This makes heat transfer vinyl suitable for decorating clothes, bags, and other soft surfaces. You can press HTV on t-shirts, masks, sweatpants, baby and children's clothing, sweatshirts, hats, footwear, swimsuits, tea towels, tote bags and more!
Iron-on vinyl will adhere well to fabrics and can be washed multiple times.
The required heat and pressure make heat transfer vinyl unsuitable for materials like paper or plastic. These materials cannot withstand the heat and pressure of the heat transfer process.
What is the difference between heat transfer vinyl and adhesive vinyl?
If you have been looking into crafting with vinyl, you may have seen terms like adhesive vinyl and heat transfer vinyl. They are two different materials with different applications.
Heat transfer vinyl (also known as HTV or iron-on vinyl) has a heat-activated adhesive on the backside. It needs heat and pressure to stick to anything.
This makes HTV best suited for clothes, bags, and other fabrics. You can use heat transfer vinyl to personalise a t-shirt for example, but you can also use it on untreated wood and other hard surfaces that are not suitable for adhesive vinyl.
Adhesive vinyl does not require any heat for it to stick to objects. This makes adhesive vinyl suited for smooth surfaces like glass, plastic, metal, notebook covers, painted wood and even paper.
So how can you tell heat transfer vinyl and adhesive vinyl apart?
Heat transfer vinyl has a transparent plastic carrier sheet on one side covering the colour or pattern, and a coloured matt back on the other side.
You should not be able to easily peel off the heat transfer vinyl.
Adhesive vinyl usually has a colour or pattern on one side and a paper or plastic carrier sheet on the other, which is often white. Sometimes there is a grid on the paper side to act as a guide for cutting.
You should be able to place your nails between the two layers and peel the vinyl from the carrier sheet like sticky paper. If you cannot, then it is not adhesive vinyl.
Do you need to mirror heat transfer vinyl for cutting?
Yes, if you are working with heat transfer vinyl you will have to mirror your design before cutting.
One side of a heat transfer vinyl sheet has a clear carrier sheet covering the colour or pattern, while the other side has the matt adhesive material. When cutting you place the vinyl sheet on your cutting mat with the shiny carrier sheet facing down, and the matt side facing up.
Once your design has been cut, the matt side with the adhesive has to touch the object you want to transfer to, while the shiny carrier sheet is facing up. So you will need to mirror your design before cutting because you will flip its orientation between cutting and heat pressing.
Tips for using heat transfer vinyl
The temperature and pressure required for the heat transfer will vary depending on the kind of HTV you are using and the surface you are applying it to. Check the manual or instructions that came with your heat transfer vinyl or heat press before you start.
Or take a look at this handy chart!
| Type of material |
Temperature |
Pressure |
Time |
| Basic heat transfer vinyl |
150 - 160 °C |
Medium (5 - 8 kg) |
10 - 15 s |
| Chameleon heat transfer vinyl |
145 - 155 °C |
Medium (5 - 8 kg) |
10 - 15 s |
| Glitter heat transfer vinyl |
150 - 160 °C |
Medium (5 - 8 kg) |
10 - 20 s |
| Pattern heat transfer vinyl |
145 - 155 °C |
Medium (5 - 8 kg) |
10 - 15 s |
| Puff heat transfer vinyl |
150 - 160 °C |
Medium (5 - 8 kg) |
10 - 15 s |
| Soft metallic heat transfer vinyl |
145 - 155 °C |
Medium (5 - 8 kg) |
10 - 15 s |
Place your heat transfer vinyl on your cutting mat with the clear carrier sheet facing down and the matt side facing up.
Remove the excess vinyl from the plastic carrier sheet with these handy weeding tools.
If you want to apply heat transfer vinyl to a fabric, we recommend washing the item before starting your project. Do make sure the item is completely dry before applying any HTV.
When heat pressing HTV, you need a cover sheet (such as a teflon sheet) to protect your design from the heat.
If your design has multiple layers, the carrier sheet of the vinyl layer may not cover the entire design. It is important to cover any exposed areas to prevent the material from burning, melting or sticking to your heat press or iron during pressing.
Some types of heat transfer vinyl may mention that they are suitable for cold or hot peel.
Cold peel means that you have to let the HTV cool down after applying it, before you try to peel off the carrier sheet.
With hot peel heat transfer vinyl you can peel off the carrier sheet sooner, but do let it cool down a little to avoid burning yourself!
Some types of heat transfer vinyl can be layered. This can happen with more complex designs where some elements overlap with others. In that case you will need to apply multiple layers from the bottom up. Make sure you cover your design with a teflon sheet to protect the layers that have already been applied.
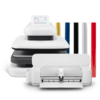
A colour for every project
Browse our range of heat transfer vinyls!